What is a starting point?
A starting point is a point where a scenario begins. A starting point can be a web visitor’s action, a keyword, or a visit URL event. These starting points trigger a defined scenario.
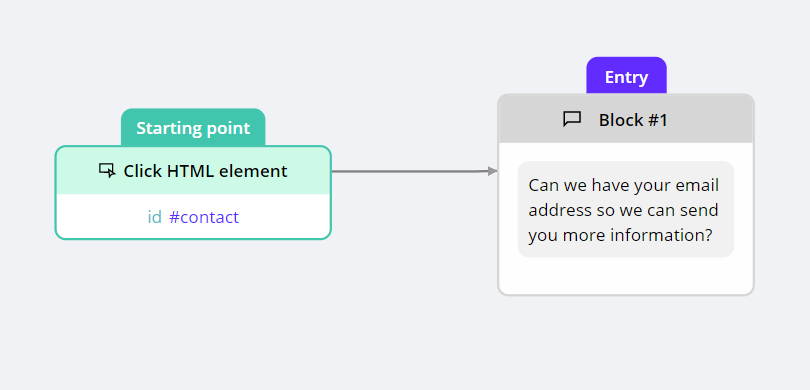
Click HTML element: This starting point triggers a scenario when users click on an HTML element with an identified id or classname. For example, you can create a scenario to collect contact information that’s triggered when a visitor clicks on an HTML element with the id “contact.”
Visit URL: This starting point triggers a scenario when users visit an URL. The settings can contain multiple URLs. For example, you can create a greeting scenario that’s triggered when a visitor visits your homepage.

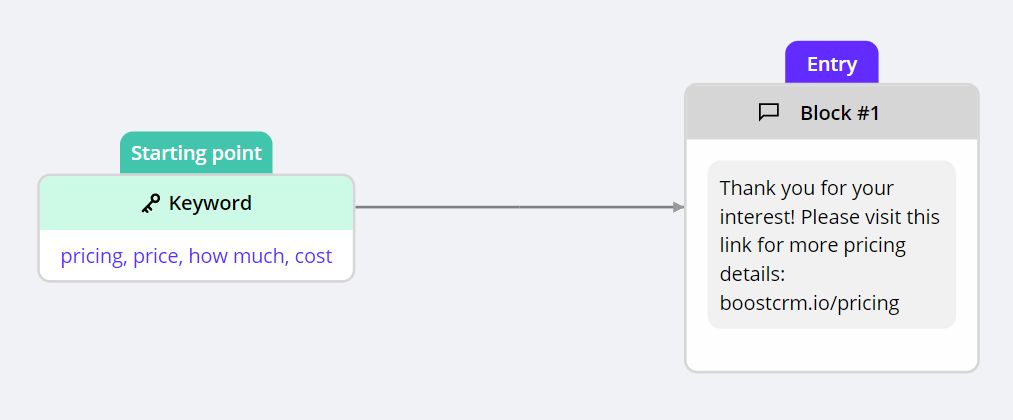
Keywords: This starting point triggers a scenario when users type something similar to a pre-set keyword group. Keyword groups are set in Automation > Keywords. For example, you can create a keyword group named “Pricing” which includes the words “price, pricing, how much, cost,” then create a scenario to introduce your product’s price that’s triggered by this keyword group.
How to set up starting points?
You can create and edit starting points in Automation > Chatbot Template, open your template and find Starting points on your sidebar.

Learn how to set up starting points in the following articles: Trigger a scenario when visitors access an URL and Trigger a scenario when visitors click on an HTML element.
What is a scenario?
A scenario is a series of steps and rules to determine how your chatbot works. For example, you can create a simple sale process by first presenting a product. Following this product are two options: “View item details” and “See more like this.” When clicked, “View item details” will open the product page on your website, while “See more like this” will open a gallery of similar products.
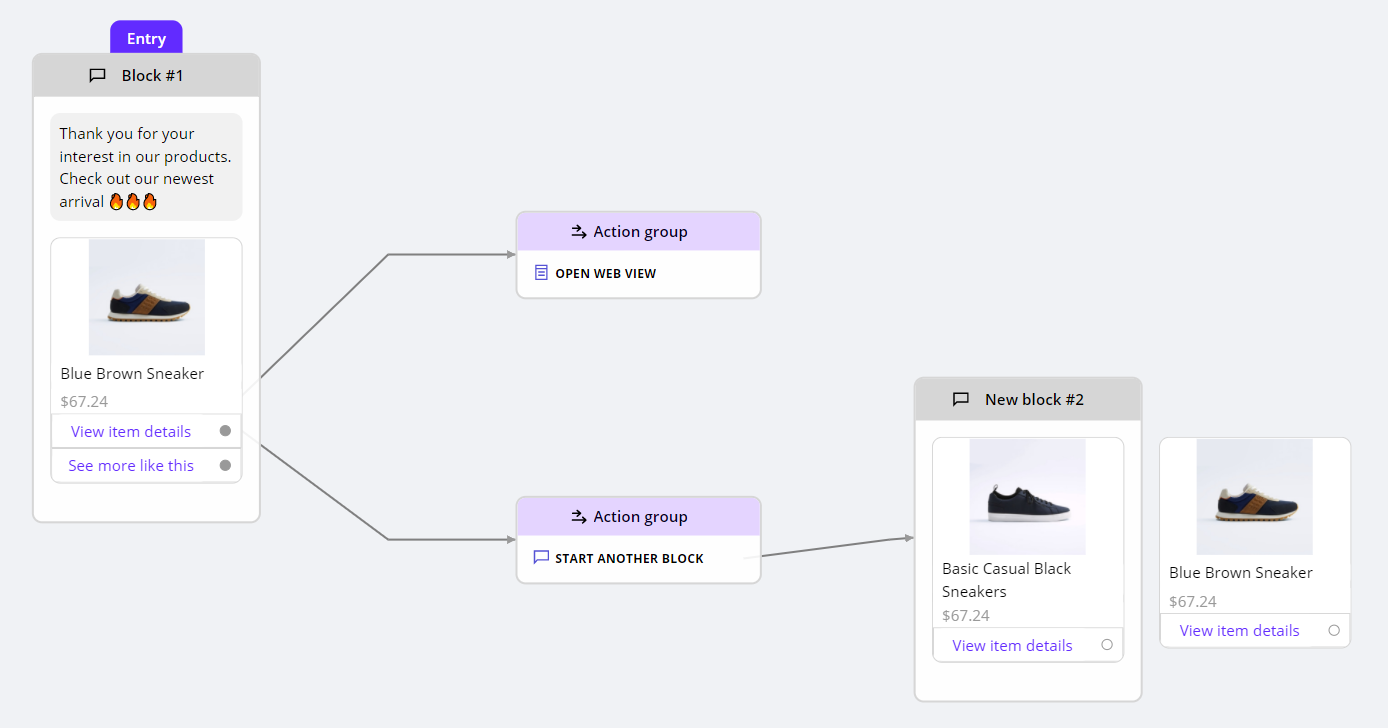
A scenario begins with a starting point with a green label on top. Following the starting point is the first step of the scenario. Depending on the purpose of the scenario, your first step may be an entry block or an entry action group.
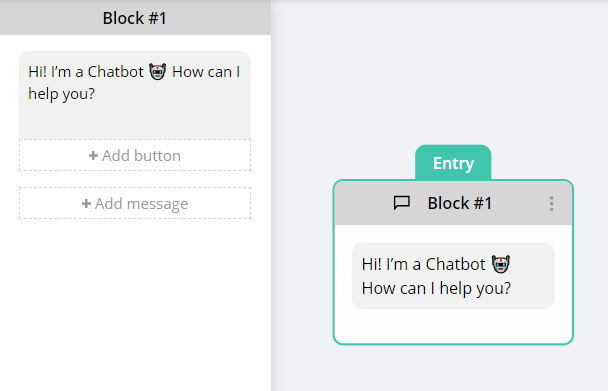
If you want to send a message to start a conversation, e.g, “Hi! I’m a Chatbot. How can I help you?”, then create an entry block to be your first step.
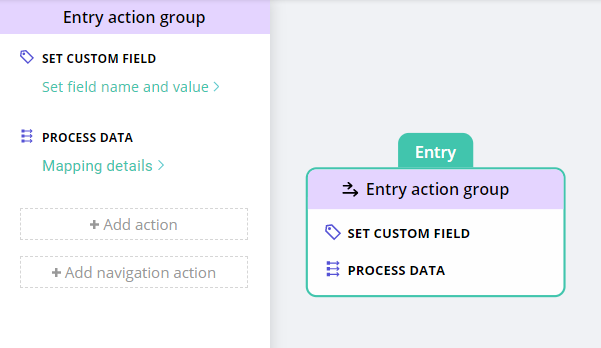
If you want to perform some actions (such as processing data, adding a tag, etc.) before sending the first message, then your entry should be an action group.
List mode and Diagram mode
There are 2 view modes for your scenario: List mode and Diagram mode.
List mode: List mode shows your entry block and all message blocks in the scenario. In this mode, you create a new block or a new entry action group.

Diagram mode: Diagram mode is your visual builder that shows all the messages, actions, and transitions between them. This mode gives you a comprehensive view of all the steps and rules in the scenario and their sidebar editor.

Block
A block (or a message block) is a step in a conversation. In this step, you can send different types of messages to your audiences, then wait for their responses or continue to another step without waiting.
A block consists of all types of content that you can send, such as text, image, carousel, etc. An Entry block is the first block of the scenario.
Message types: The Add message button opens a list of all message components that you can insert into the block. The components include text, image, file, audio, video, card, carousel, quick reply, and delay.

Learn more about message components in this article: Explore message types in a block.
Next step: There are 3 ways to configure the next step of a block:
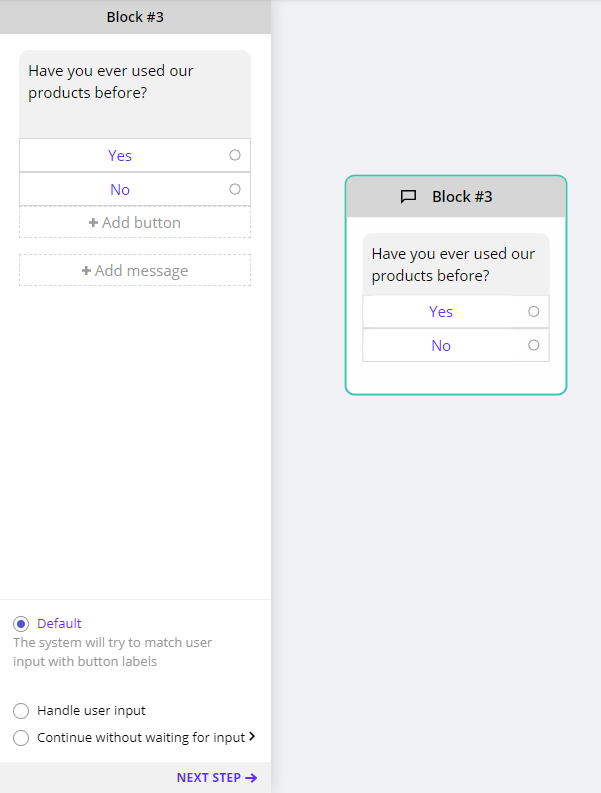
- Default: By default, the system will match user input with button labels and quick replies. For example, your block consists of buttons for “yes” and “no”, but the user doesn’t click either button. Instead, they type “yes” or “no” - by default, your chatbot still understands which button the user chose.
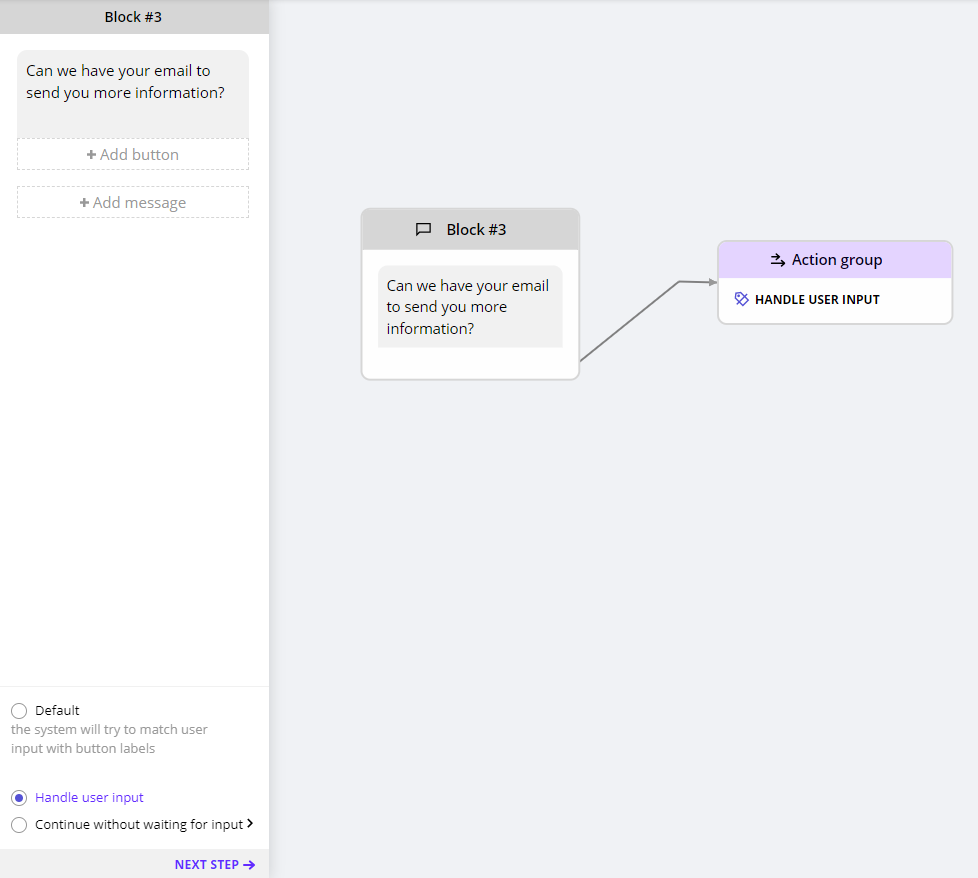
- Handle user input: Choosing this option opens an action group consists of the action Handle user input. This action allows you to save the input to a custom field.
- Continue without waiting for input: Choosing this option opens an action group consists of the action Start another block or Start another scenario.
Learn more about configuring a block’s next step in the following articles: Navigate to the next block or next scenario and Process user response and navigate to the next block or next scenario.
Here are some examples of how you can use a block:
- Send a text message with buttons attached, then wait for the audience to interact with the buttons to continue the conversation.
- Send a text message asking the audience for their information, then wait for the responses and save them to your database.
- Send a text message, then add a few seconds of delay, and continue to another block. This effect mimics the typing action of a real human.

Action group
An action group consists of all types of actions you can perform, such as tagging users, processing data, checking conditions, etc. Each group can have multiple actions. An Entry action group allows you to perform any actions before sending the user the first message.

Learn more about actions in this article: Advanced automation actions in a conversation.

