After creating a project, you will be navigated to a quick setup process. This process contains different steps based on the modules you choose when creating a new project.
You can follow the step-by-step guide and have your project all set up, or skip the process and do it later. To reopen the process, go to Dashboard and find the quick setup button on the top notice.

If you install Website Widgets for your project, you will see the following steps in the quick setup process:
- Select widgets to show on your website.
- Choose a display style.
- Insert widget data.
- Set up a pre-chat form for Live Chat (if you selected Live Chat in the first step).
- Create a welcome message for Live Chat (if you selected Live Chat in the first step).
- Instructions to find full widget settings and download the mobile app.

For detailed instructions on how to set up your website widgets, see our article Quick setup.
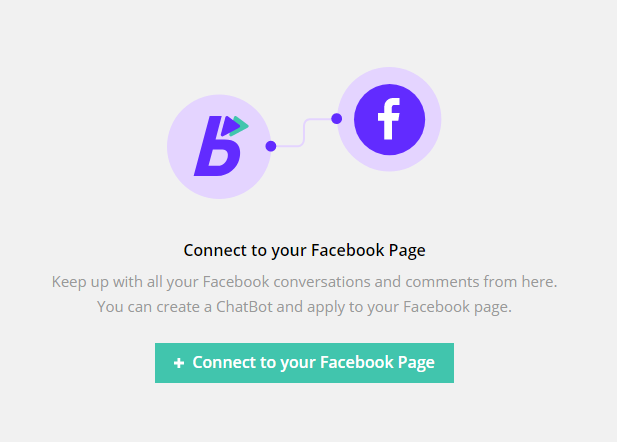
If you install Messenger Chatbot for your project, you will see this quick setup button on the top notice in your Dashboard.

This button will navigate you to the Messenger Integration screen. On this screen, click Connect to your Facebook page.

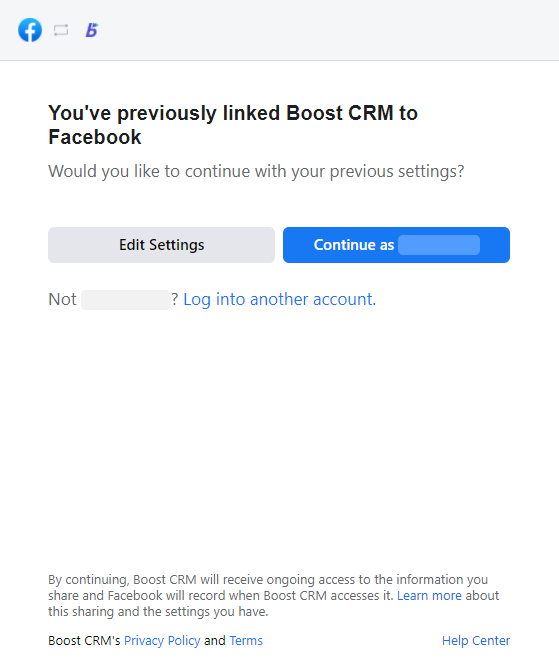
A window will pop up asking you to log in to your Facebook account. Log in to the account that connects with the page you want to integrate with BoostCRM.

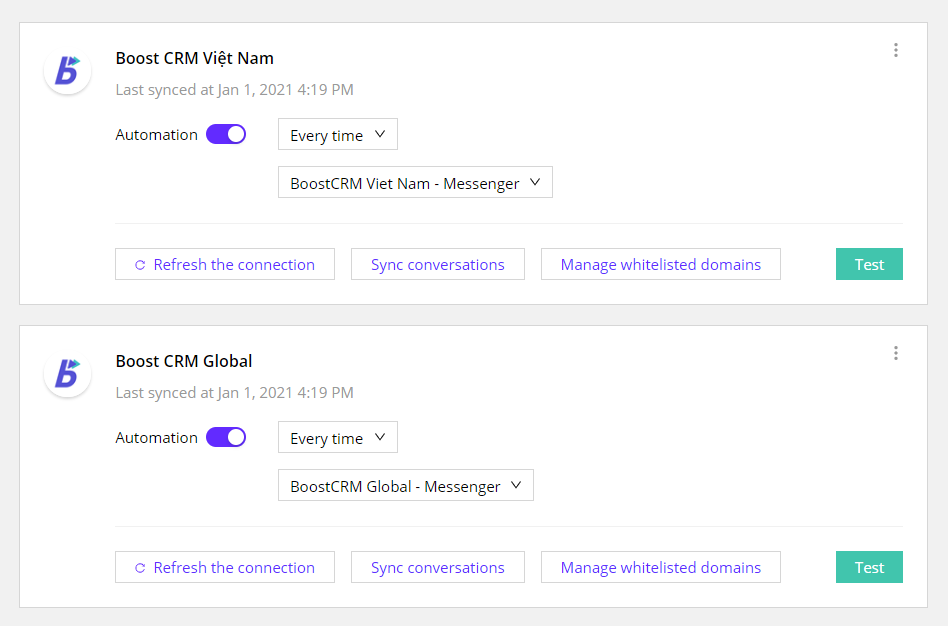
After logging in, a list of pages connecting to your Facebook account will appear. Select a page and click Connect. Your Facebook page is now integrated with your BoostCRM project.

For Messenger chatbots to work, you need to set up an automation template for this channel.

